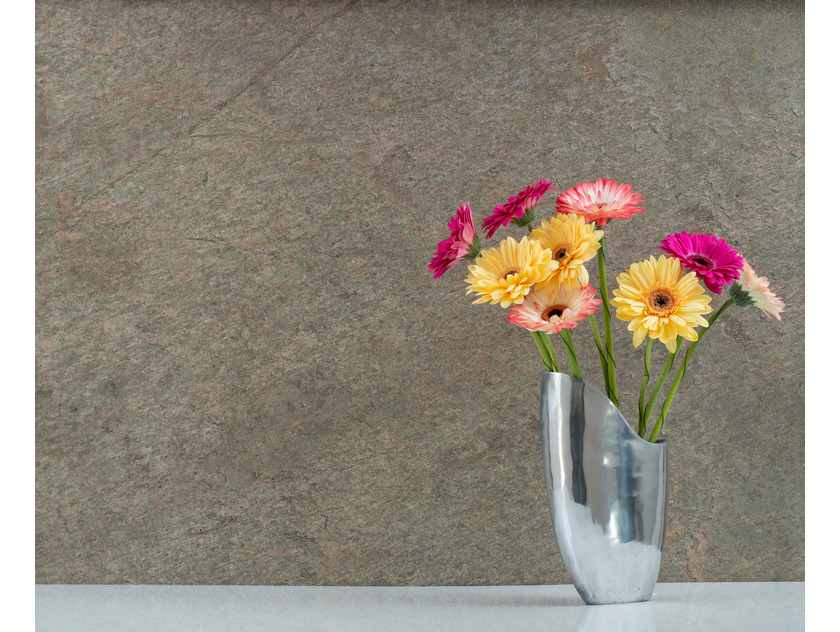
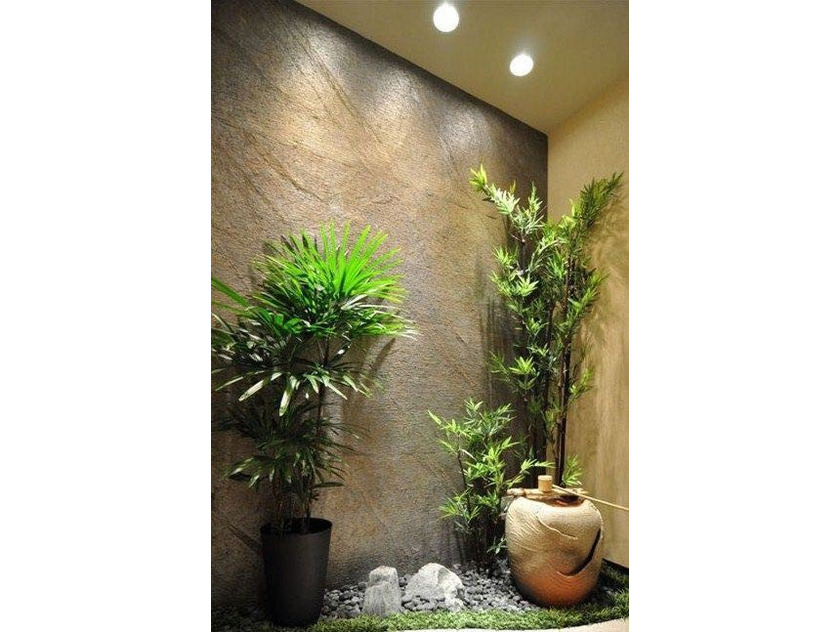
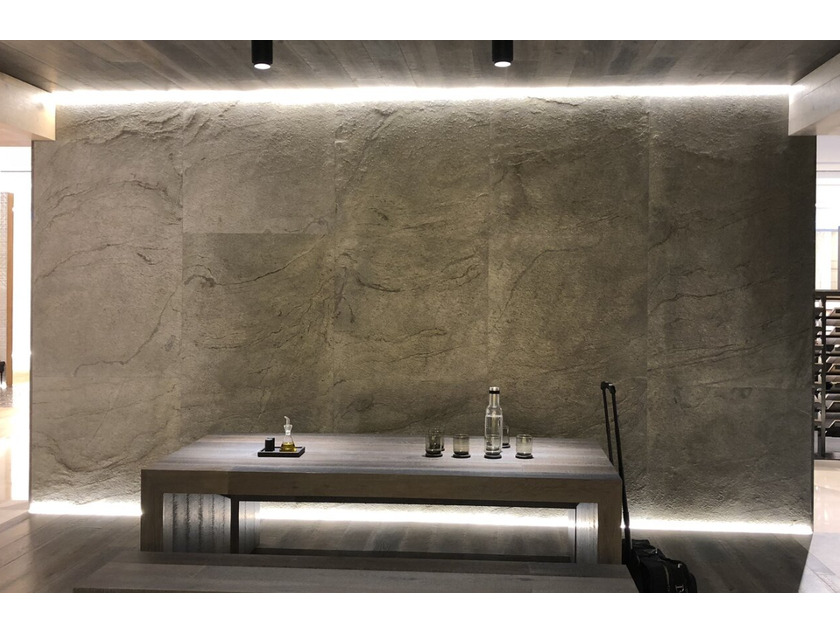
Our range of 7mm (+/- 1mm) Lava Stone all have a 100% natural stone surface and this is adhered to a cement fibre board backing making it lightweight and a cost effective alternative to stone slabs. Madrid has a sheen finish, with mauve earthy tones, making a beautiful piece for a feature wall. Our Lava Stone panels are ideal for bathroom, shower and feature walls.The Lava Stone sheets are Fire Rated and is bonded to fibreboard (a cement based core).
Our Madrid Stone is suitable for interior and exterior use.
Our Lava stone is Fire Rated: Euro class C
It is available in single sheets in size 1200x2440mm and will be transported/delivered flat packed on a pallet. Due to the product being made from natural stone, the thickness of the stone can vary by +/- 1mm.
Please note: Due to the nature of the product being made from natural stone, there will be slight variations in the colours and patterns.
Samples:
*Upon receipt of your sample, you will receive promo code on your delivery note, please enter this at checkout to deduct sample cost.
Please see our Installation Guide for tips on how to install.
Installation
You will need:
- Adhesive
- Safety goggles
- Tape measure and masking tape
- Jig saw, Hand Saw or Circular Saw
The adhesives we recommended are:
MAPEI MAPESTIK WALL ADHESIVE
SOUDAL FIX ALL WALL AND FLOOR ADHESIVE
These adhesives will work with any thickness of stone, and will create a strong lasting bond between the product and the surface.
Pre - Installation
- Inspect wall panels & profiles for any flaws, defects or damage.
- Check colour, sheen level and pattern concentration consistency.
- Read complete guide before commencing installation.
- Once installation has commended the panels are deemed to have arrived in perfect condition.
Conditioning & Storage
1. Panels should be carried by two people
2. Do not store in areas of high humidity
3. Do not store outside or lean on wall at an angle
4. Store in cool & dry conditions between 5-24°c
5. Store flat & horizontal to prevent bowing
6. Condition panels & adhesive at room temp 48-72 hours.
Preparation
Panels can be fixed to most surfaces including tiles, plasterboard, etc. Ensure that all surfaces to which adhesives will be applied are clean and dry.
Handling & Cutting
- Measure & mark your required cutting line.
- Gloves and goggles should be worn at all times when handling and cutting the pane;s
- When using a fine-tooth blade handsaw, panels should be cut decorative face up.
- When using an upward cutting blade or a circular saw, panels should be face down to avoid chipping.
Installation:
1. The first profile you are using which will be either an end cap or a corner profile should be fixed to the wall with your preferred method.
- Drill and Screw – Quite secure, allowing clean removal should it be necessary, but visible screw heads not generally popular.
- Contact Adhesive – Cartridge dispensed adhesive work well with rigid PVC but require practice to use neatly. Not suitable for clear plastics.
2. Apply silicone to the inside of the first profile.
3. Add a considerable amount of adhesive to the back of the first panel and place the panel into position inside the trim and against the wall.
If you are using end caps do not push too hard.
4. Repeat the process for the remaining shower panels and ensure that they are in the correct position before fitting them firmly.
Please note this is used as a general guide only as each space will be different, however most times the application is straightforward and does not include cutting the panels.


